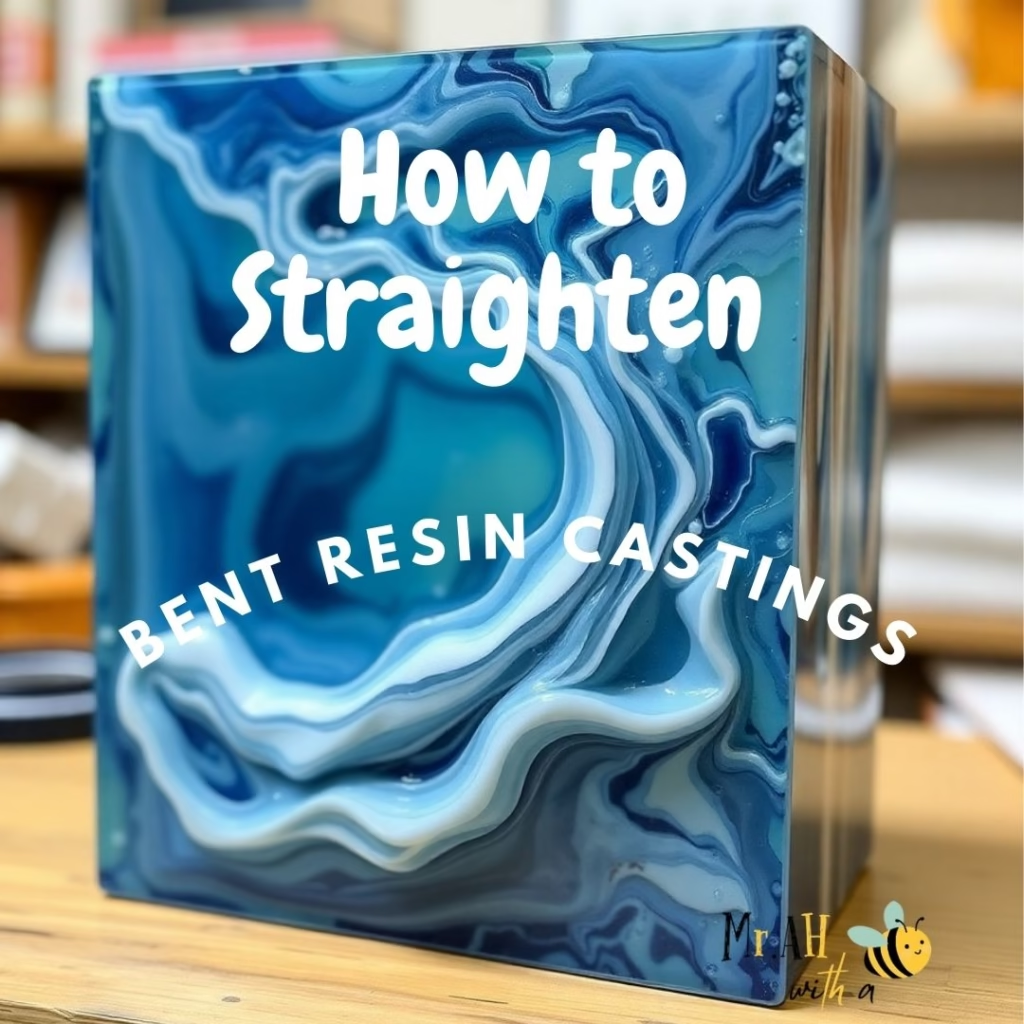
Resin casting has become a favored technique among crafters and model makers, celebrated for its ability to produce intricate and detailed designs. This versatile process allows artists to encapsulate various materials, from decorative elements to functional components, creating stunning visual effects and high-quality finishes. Whether crafting unique jewelry, lifelike miniatures, or custom artwork, resin casting offers endless creative possibilities. Its popularity stems from the ease of use and the ability to achieve precision that other materials may not provide, making it an essential skill for anyone looking to elevate their creative projects. However, bent or warped resin castings can occur due to improper curing or heat exposure. Knowing how to straighten bent resin castings is crucial to achieving polished, functional results. With the right techniques, you can restore your pieces to their intended shape and continue creating with confidence.
Understanding Resin and Its Properties
Resins like epoxy and polyurethane are popular in casting due to their versatility and strong bonding. These materials undergo curing, a temperature-sensitive chemical reaction that transforms liquid resin into solid form. Casting resin is specifically designed for various applications, including molds, figurines, wood fillings, deep pours, and jewelry. With a lower viscosity than coating resins, it flows easily into intricate molds and penetrates small gaps. However, it requires a longer drying time, often taking up to two weeks to cure, depending on environmental conditions.
- Inconsistent curing conditions, such as temperature or humidity variations, can lead to defects like bending or warping.
- Heat exposure after curing can further compromise the structural integrity of the cast piece.
Understanding these properties and maintaining optimal curing conditions is crucial for achieving high-quality resin castings. The longer processing time allows for greater detail in the final product, as the resin settles into fine details without trapping bubbles. Additionally, the lower viscosity enables thicker pours, which is beneficial for creating layered designs.
Artists can enhance their creations with colorants like epoxy pigment pastes, powders, acrylic inks, and glitter for vibrant effects. Glow-in-the-dark pigments and chameleon colors can also be added for stunning visual impacts. By controlling the curing environment and leveraging the properties of casting resin, crafters can minimize deformation and enhance the durability and beauty of their projects.
Creative Possibilities with Casting Resin
Versatility of Casting Resin
This versatile material, a type of clear epoxy, is perfect for crafting a wide range of items, including jewelry, figurines, and various small objects. The process of working with casting resin shares similarities with that of coating resin, but there are some important distinctions to consider.
One key difference is that casting resin is typically poured into molds while coating resin is applied directly onto surfaces. This unique characteristic means that using casting resin often involves more preparation and setup than coating resin. However, it also opens up a world of creative possibilities, allowing for greater exploration of depth, shape, and design in your projects.
Deep-Casting Epoxy Systems
With deep-casting epoxy systems, which are specifically formulated for larger volumes, you’ll find that they usually have an extended curing time. This longer curing period allows you to create thicker layers and more intricate designs without the risk of bubbles or imperfections. Whether you’re crafting stunning jewelry pieces, detailed miniatures, or functional art objects, casting resin provides the flexibility and versatility needed to bring your creative visions to life.
How to create a casting mold for resin
Creating a mold for casting resin is a crucial step that allows you to produce detailed and repeatable designs. Here’s a step-by-step guide to help you create your mold:
Materials Needed
- Silicone Mold Material: Choose a silicone specifically designed for casting molds (e.g., silicone rubber).
- Model or Original Object: The item you want to replicate.
- Mold Box: A container to hold the silicone while it cures (this can be a plastic box or a custom-built structure).
- Releasing Agent: To prevent the silicone from sticking to the original object (e.g., petroleum jelly or mold release spray).
- Mixing Tools: Cups and sticks for mixing the silicone.
- Scale: For accurately measuring silicone components.
- Safety Gear: Gloves and a mask to protect against fumes.
Step-by-Step Instructions
- Prepare the Original Object:
- Clean the object to remove any dust or debris.
- Apply a releasing agent to the surface of the object. This will help ensure that the silicone mold can be easily removed later.
- Build the Mold Box:
- Choose a mold box that is slightly larger than your object. The box should allow for at least 1/4 inch (6 mm) of space around the object to ensure a sturdy mold.
- Secure the box with tape or use a container that can hold its shape.
- Position the Object:
- Place the object in the center of the mold box. If needed, you can use hot glue to affix the object to the bottom of the box to prevent it from floating when the silicone is poured.
- Mix the Silicone:
- Follow the manufacturer’s instructions for mixing the silicone. Typically, this involves combining a base and a hardener in the correct ratio.
- Mix thoroughly until the color is uniform, ensuring there are no streaks.
- Pour the Silicone:
- Slowly pour the mixed silicone into the mold box, starting from one corner and allowing it to flow around the object. This helps minimize air bubbles.
- Fill the mold box until the silicone covers the object by at least 1/4 inch (6 mm).
- Cure the Silicone:
- Allow the silicone to cure according to the manufacturer’s instructions. This could take anywhere from a few hours to overnight, depending on the type of silicone used.
- Remove the Mold:
- Once fully cured, carefully remove the silicone mold from the box. Then, gently peel the silicone away from the original object.
- Inspect the mold for any imperfections or air bubbles. Minor imperfections can often be ignored, but significant flaws may require adjustments.
-
Test the Mold:
- Before using the mold for a final project, consider doing a test pour with resin to ensure that it captures the details correctly and releases easily.
Why Resin Bends: Understanding the Causes
Before we delve into how to straighten bent resin castings, we need to understand the factors that cause resin bending. Understanding these causes is essential for both preventing issues and addressing them effectively if they arise. Here are the primary reasons why resin may bend:
Improper Curing Conditions
Resin curing is a chemical reaction that is highly sensitive to environmental factors like temperature and humidity. If the curing conditions are inconsistent—such as significant fluctuations in ambient temperature—the resin may not harden uniformly. This inconsistency can lead to warping, as some areas may cure faster than others, creating internal stresses that result in bending. The optimum environment for curing is:
- Temperature Control:
- Ideal range: 70°F to 80°F (21°C to 27°C).
- Maintain consistent temperature; avoid fluctuations.
- Humidity Levels:
- Keep humidity below 50% for best results.
- Use a dehumidifier in humid environments.
- Airflow and Ventilation:
- Ensure good air circulation to prevent fume buildup.
- Avoid drafts that may cause uneven curing.
- Clean Workspace:
- Work in a dust-free environment to prevent imperfections.
- Use a dust cover to protect curing projects.
- Surface Preparation:
- Use non-stick surfaces or molds for easy removal.
- Ensure the workspace is level to prevent pooling.
- Time Considerations:
- Follow manufacturer recommendations for curing times.
- Avoid moving or disturbing pieces until fully cured.
Excessive Heat Exposure
After the resin has cured, exposure to high temperatures can soften the material, making it susceptible to deformation. This is especially relevant for items placed in warm environments, direct sunlight, or near heat sources. If the cured resin is subjected to conditions that exceed its thermal tolerance, it can lose its shape and integrity.
The thickness of the Pour
When using deep-casting resins, the thickness of the pour can significantly impact the final result. Thick layers generate more heat during the curing process, which can lead to uneven hardening. If one part of the resin cures faster than another, it can create internal stresses that lead to bending or warping, particularly in larger castings.
Insufficient Mixing
Proper mixing of the resin and hardener is critical to ensure a complete chemical reaction. Insufficient mixing can lead to pockets of uncured resin, which remain flexible even after the outer layer has solidified. These uncured areas can cause the resin to bend or warp over time, compromising the overall integrity of the casting.
Trapped Air Bubbles
During the pouring process, trapped air bubbles can form within the resin. These bubbles create weak spots within the material. As the resin cures and the bubbles expand or contract, they can exert pressure on the surrounding resin, leading to bending or warping. Proper pouring techniques and degassing methods can help minimize this issue.
Material Compatibility
If a resin is cast over incompatible materials, or if it is poured into poorly designed molds, it may not adhere properly. This lack of adhesion can lead to stress at the interface of the materials, causing bending or deformation. Ensuring compatibility between the resin and any other materials used in the casting is crucial for achieving stable and durable results.
Design and Structural Considerations
The design of the casting itself can influence its susceptibility to bending. Items with sharp angles or unsupported areas are more prone to stress and deformation. Reinforcing these designs or using support structures can help mitigate bending.
Identifying the Problem
To determine if your resin casting has bent, start by examining the piece for noticeable signs such as uneven surfaces or distorted edges. These imperfections can indicate that the resin has not cured properly or has been subjected to stress.
Next, assess the severity of the bending. Minor bends are typically easier to correct and can often be fixed with simple techniques like gentle heat treatment or the application of weight. In contrast, significant warping may require more advanced methods, such as recasting or using specialized tools to reshape the material. By carefully evaluating the extent of the bending, you can decide on the most appropriate approach to restore your resin piece to its intended shape.
How to Straighten Minor Bent Resin Castings
Minor bends in resin castings can often be resolved with straightforward techniques, allowing you to restore the integrity and appearance of your projects. Here are some effective methods for correcting these imperfections:
Heat Treatment
One of the most effective methods for addressing minor bends is through heat treatment. Gently applying heat can soften the resin, making it more pliable and easier to reshape. Here’s how to straighten bent resin castings by heat treatment:
- Tools Needed: A heat gun or a hairdryer on a low setting.
- Technique: Hold the heat source about 6–12 inches away from the resin and move it back and forth to avoid concentrating heat in one area. Monitor the resin closely as it warms up; you want it to become pliable without melting.
- Reshaping: Once the resin is warm enough to bend, carefully reshape it to the desired position. You can use your hands or gentle pressure to guide it into place.
- Cooling: Allow the resin to cool and harden in its new form. If necessary, you can place it in a cool area or use a fan to speed up the cooling process.
Weight Application
For slight bends, applying weight can help flatten and reshape the resin casting. This method is how to straighten minor bent resin castings by a simple technique:
- Method: While the resin is still slightly warm, place it under a flat weight, such as a heavy book or a flat piece of metal.
- Duration: Leave the weight in place until the resin cools completely. This technique helps keep the piece straight while it hardens, ensuring that the bend is corrected.
Clamp or Jig Method
Using clamps or a jig can provide more controlled adjustments, especially for pieces with more complex shapes:
- Clamps: If the bend is minor, use clamps to hold the resin casting in place against a flat surface. Be careful not to apply too much pressure, as this can create new bends.
- Creating a Jig: For more intricate pieces, you can build a simple jig using wood or plastic. This jig should hold the resin in the desired position while it cures. By using this method, you ensure that the piece stays straight and retains its intended shape.
Sanding and Recasting
If the bend is minimal but affects the surface finish, you may consider sanding and recasting:
- Sanding: Use fine-grit sandpaper to lightly sand the bent area. This not only smooths out imperfections but can also help create a better surface for recasting.
- Recasting: After sanding, mix a small batch of resin and pour it over the affected area. This layer will help restore the appearance and provide a smooth finish. Be sure to follow the manufacturer’s instructions for mixing and curing times.
How to Straighten Major Bent Resin Castings
When faced with major bends in resin castings, the approach to restoration becomes more complex and may require advanced techniques. Here are several effective methods for how to straighten major bent resin castings:
Recasting
If the bend is severe and compromises the integrity of the piece, recasting may be the best option. This involves creating a new mold and pouring fresh resin:
- Assess the Damage: Determine if the bend affects the entire piece or just specific areas. If the overall shape is distorted, recasting is likely necessary.
- Prepare a New Mold: Use the original casting as a reference to create a new mold. You can use silicone mold-making materials for this purpose.
- Mix and Pour: Carefully mix a new batch of resin according to the manufacturer’s instructions and pour it into the new mold. Ensure that the environment is optimal as discussed earlier for curing to avoid future issues.
Heat Reshaping
For major bends that can be softened, heat reshaping may still be an option, but it requires more caution:
- Controlled Heating: Use a heat gun or hairdryer to warm the resin evenly. Keep the heat source at a safe distance and continuously move it to prevent overheating in any one area.
- Gentle Manipulation: Once the resin is pliable, gently manipulate it back into shape. Be careful, as excessive force can cause cracking or further damage.
- Cooling: Allow the resin to cool naturally, ensuring it retains the new shape.
Clamping with Support
For significant bends, using clamps with appropriate supports can help restore shape:
- Create a Support Structure: Build a support structure that will hold the resin casting in the desired position. This could include wooden blocks or a custom jig.
- Clamp the Piece: Carefully clamp the resin casting to the support structure, applying enough pressure to straighten it without causing additional stress or cracking.
- Leave in Place: Allow the casting to remain clamped until it fully cures. This method can help realign the resin as it hardens.
Sanding and Filling
In some cases, major bends can be addressed through a combination of sanding and filling:
- Identify High Spots: Sand down any high spots created by the bend to create a more uniform surface.
- Fill with Resin: After sanding, you can fill in any gaps or uneven areas with a fresh layer of resin to achieve a smooth surface.
- Final Sanding: Once the filling resin has cured, sand the surface again for a polished finish.
Conclusion
Resin casting is a favored technique among crafters and model makers due to its ability to produce intricate and detailed designs. This versatile process allows artists to encapsulate various materials, creating stunning visual effects and high-quality finishes in jewelry, miniatures, and artwork. Its popularity arises from its ease of use and the precision it offers, making it an essential skill for elevating creative projects.
However, issues like bending or warping can occur due to improper curing or heat exposure. Understanding how to straighten bent resin castings is vital for achieving polished and functional results. By applying the right techniques to address these imperfections, you can restore your pieces to their intended shape, allowing you to continue creating with confidence and bringing your artistic visions to life.
FAQs
- What causes resin castings to bend?
Heat or inconsistent curing conditions can warp resin pieces. - Can I straighten the resin without heat?
Yes, for minor bends, mechanical pressure (e.g., clamps) may work. - What’s the best tool to heat resin?
A heat gun is ideal; a hair dryer can work for lighter jobs. - How do I avoid overheating resin?
Keep the heat source moving and use low heat settings. - What if the resin breaks while bending?
Use glue or filler to repair cracks, or recast the piece. - Can I fix severe warping?
Yes, but you might need to remold or use advanced techniques. - Is epoxy easier to straighten than polyurethane?
Epoxy is generally more forgiving with heat adjustments. - How long does resin take to cool after heating?
It usually takes 15–30 minutes, depending on thickness. - Why should I use clamps or weights?
They help hold the corrected shape during the cooling process. - How do I prevent future warping?
Cure resin properly and store finished pieces away from heat sources.
If you like this post you may also like our recent posts,


Thanks for reading, for more interesting articles, visit our homepage.