How to Make Homemade Plum Jam Recipe
Homemade plum jam recipe is a delightful way to preserve plum’s fresh, tangy flavor, enabling you to enjoy its sweetness year-round. Spread on toast, used as a glaze, or swirled into desserts, plum jams provide a versatile and delicious experience. Homemade jam is a relatively easy recipe with just a few ingredients on the hands: plums, sugar, and lemon juice. You can twist this recipe by adding some spices like cinnamon or cloves.
Let’s explore the world of homemade jam by answering key questions, discussing numerous methods, and sharing tips so your jam turns out perfectly every time.
Why Make Plum Jam at Home?
Homemade Plum jam recipes are easy to make and you can control the ingredients, especially the sugar content which is high in store-bought jams. Making jam at home will be healthier and free from preservatives. Plums are rich in vitamins and minerals such as vitamins A, C, and K, and fiber. You can retain its nutrients by making them into jam while enjoying a delicious and versatile condiment. Making your homemade plum jam is rewarding, it allows you to customize flavors and sweetness levels to your preference.
Selecting the Right Plums
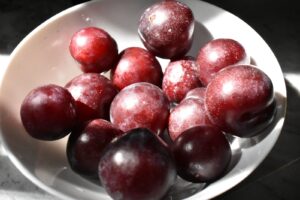
Choosing ripe and flavorful plums is essential to the foundation of any great plum jam. look for plums that are soft but not mushy. The riper the plums, the more naturally sweet flavor they will add, while the overripe plums might result in an overly soft texture.
Plums are in many varieties, such as Santa Rosa, Damson, and Italian, and each has its distinct flavor profile. You can use a single variety or mix different types of plums to create a balanced blend of sweet and tart flavors. If you like more tart jam, choose European varieties of plums, while Japanese plums will yield a sweeter result.
Basic Homemade Plum Jam Recipe (Without Pectin)
This recipe focuses on a simple, pectin-free approach, relying on the natural pectin in the fruit and sugar to create a beautiful gel. It requires only three key ingredients: plums, sugar, and lemon juice.
Ingredients:
- 2lb of fresh plums (pitted and chopped)
- 100 grams – 272 grams of granulated sugar (adjust according to sweetness preference).
- 1 tablespoon of fresh lemon juice
Instructions:
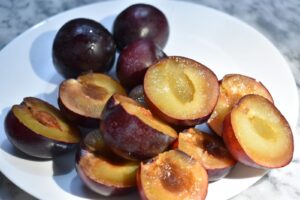
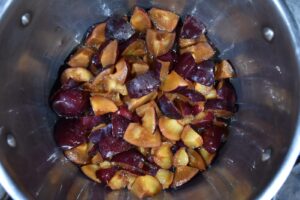
- Prepare the Plums: Wash the plums thoroughly. Cut them in half, and remove the pits. There’s no need to peel them, as the skin breaks down during cooking, adding texture and color to the jam.
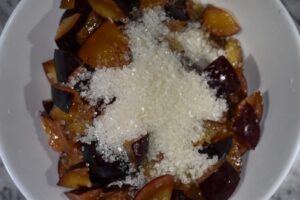
- Macerate Process: Cut the plums into small pieces, toss them in sugar, and let them sit for 1 to 2 hours or overnight in the fridge, wrapped in plastic, to macerate. Start with 100 grams of sugar and add more after the macerating process if necessary.

- Cook the Jam: In a large, heavy-bottomed saucepan, combine the macerated plums with lemon juice and let them simmer for about 30 to 45 minutes, stirring frequently in between to avoid burning. The plums will break down and the mixture will thicken. As the jam thickens, it may splatter, so be cautious and stir constantly to avoid it sticking to the bottom of the pan.
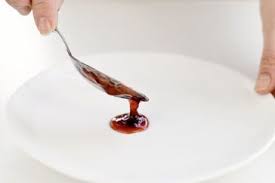
- Test for Doneness: After cooking for about 30 minutes, check if the jam has thickened enough by doing the wrinkle test. To check the consistency of the jam, place a spoonful on a cold plate and let it cool for a minute. Run your finger through it; if it holds its shape, it’s ready. If it’s too runny, continue cooking for a few more minutes and test again.
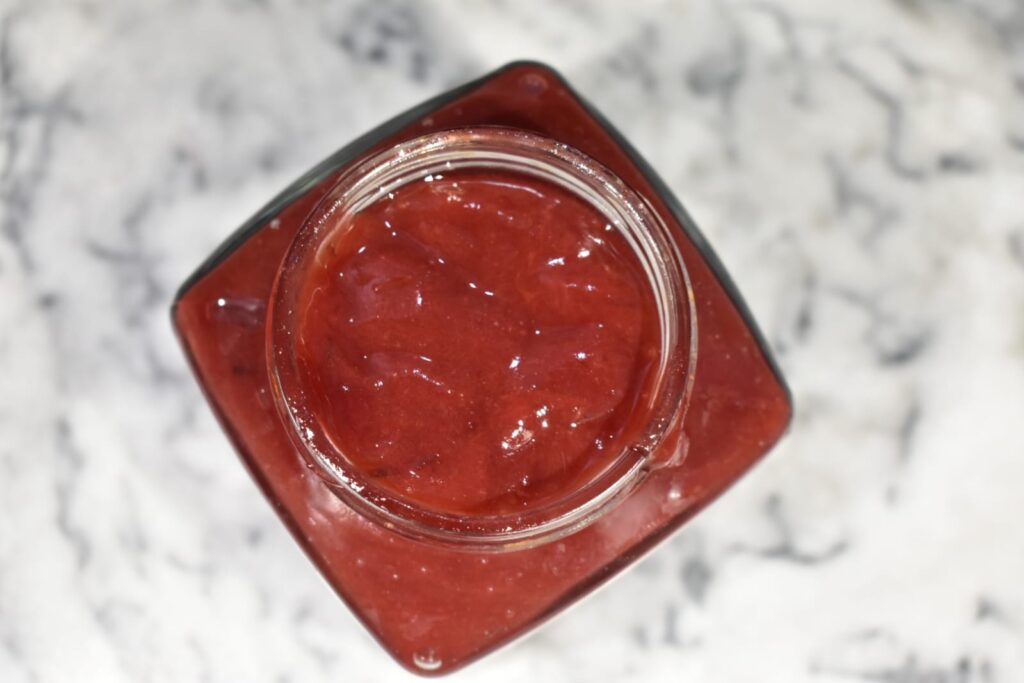
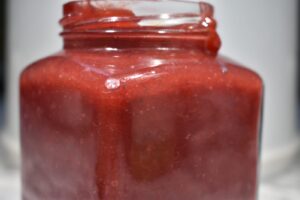
- Cool and Store: Once you achieve your desired consistency, turn off the heat and let it cool for a few minutes. Transfer the jam carefully into sterilized jars, ensuring to leave 1/4 inch of headspace at the top to allow for cooling. Once filled, tightly seal the jars and let them cool at room temperature.
Tips for Success
- Sterilize your jars: Proper sterilization of jars is crucial for preventing bacteria from spoiling your jam. Wash the jars in hot, soapy water, rinse them well, and then place them in boiling water for 10 minutes. Alternatively, you can sterilize jars in the oven.
- Wide Pot: A wider or shallow pot helps the jam cook faster and efficiently evaporates excess moisture, ensuring a good gel consistency.
- Adjusting Sugar Levels: If you like a less sweet jam, you can reduce the amount of sugar slightly, but keep in mind that sugar is essential for setting the jam. Without enough sugar, your jam may become runny. To compensate, you can cook jam longer to thicken it naturally.
- Testing for Thickness: A reliable way to check if your jam is set is the wrinkle test described earlier. Another method involves using a candy thermometer, as jam typically sets at 220°F.
Why No Pectin?
Some jam recipes suggest using commercial pectin to thicken the jam, for plum jam it’s often unnecessary. Plums naturally contain pectin, and when paired with lemon juice and sugar, they enhance the setting process. This recipe is perfect if you aim for a pectin-free jam, that delivers the traditional texture without any extra additives.
You can simply create a jam that focuses on the authentic flavor of the plums by relying on the natural pectin in the fruit. In this way, you can enjoy a more wholesome product, making it the best choice for those who prefer to avoid commercial pectin while still achieving a delightful consistency.
How to Enjoy Plum Jam
Enjoy your homemade jam in numerous ways, some of them are:
- Spreads: They can be enjoyed as a spread on toast, croissants, or bagels for a classic breakfast treat.
- Glaze: Use it as a glaze for chicken and meat.
- Dessert Filling: Swirl it into yogurt, drizzle it over pancakes, or use it as a filling for pastries or cakes.
Try this recipe and don’t forget to leave a comment below.
You can also try our Plum Juice recipe
Thank you for reading, for more interesting articles visit our homepage


Pingback: Plum Juice